



Christmas morning, a new console on the table, and that familiar excitement when you power it on for the first time. The Nintendo Switch 2 feels welcoming out of the box, but there are a lot of small things worth setting up early. Some save time, some protect the hardware, others simply make playing more comfortable in the long run. If you want your Switch 2 to feel “right” from day one, here’s what you should take care of first.
Table of Contents
- Start With Your Account and Data Setup
- Skip the User Selection Screen to Save Time
- Turn On Battery Percentage and Protect Long-Term Health
- Use the Right USB-C Port When Charging
- Protect the Screen Immediately
- Get a Proper Carry Case
- Learn How to Find Lost Joy-Cons
- Improve Comfort Without Buying Anything
- Try the Joy-Con Mouse Mode
- Take Advantage of Local Two-Player
- Secure Your Console With a Lock
- Use the Quick Settings Menu
- Adjust Button Layout If You’re Coming From Another Console
- Pair Bluetooth Headphones
- Capture Screenshots and Short Videos
- Enable Zoom for Any Game
- Switch to Dark Mode
- Know How to Fully Power Off the Console
Start With Your Account and Data Setup
Before installing games, take a moment to decide how you want to handle your data. If you owned a previous Switch, the choice matters.
You can move everything over in one go, including users, saves, screenshots, and system settings. This option resets your old console, so it’s better if you won’t keep using it. The alternative is a lighter setup where you log into your Nintendo Account, then manually transfer saves or use cloud storage if you’re subscribed online. It takes more time, but it lets you keep both systems active.
Once that decision is made, create or link your main user profile. Every save file is tied to a user, so doing this properly avoids headaches later, especially if multiple people use the console.
Skip the User Selection Screen to Save Time
If you mostly play on a single account, this is an easy win.
In the settings menu, you can enable Skip Selection Screen. From that point on, games launch directly without asking which profile to use. It doesn’t sound like much, but after dozens of launches, the time saved adds up. Some games will still ask anyway, but most won’t.
Turn On Battery Percentage and Protect Long-Term Health
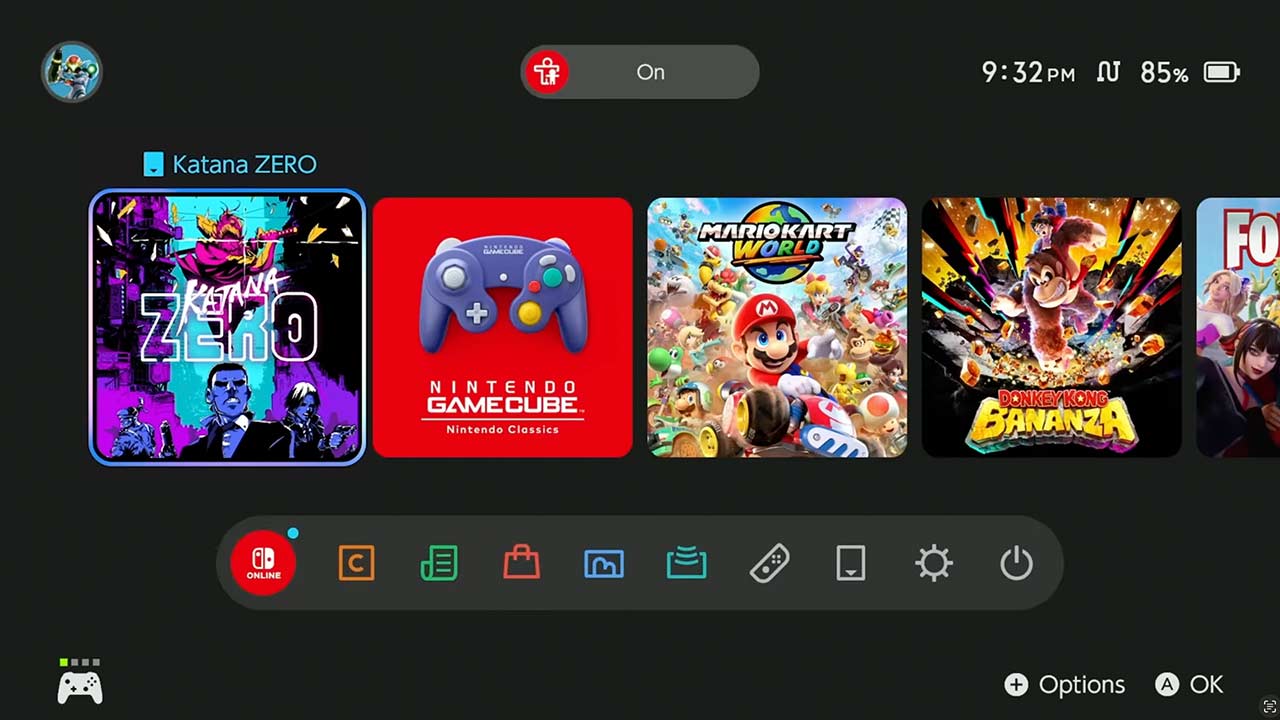
By default, the Switch 2 only shows a battery icon. You’ll want actual numbers.
Enable the console battery percentage display so you know exactly how much charge you have left. Right below that, there’s a setting that matters even more over time: Stop charging at around 90%.
Limiting the charge slightly reduces battery strain and slows down wear. If you usually play at home or docked, leaving this on helps your battery age better. When you need full capacity for travel, you can always turn it off temporarily.
Use the Right USB-C Port When Charging
The Switch 2 has two USB-C ports, one at the bottom and one at the top. Both can charge the system.
When playing handheld on a couch or in bed, charging from the top port reduces strain on the cable and connector. The cable hangs freely instead of bending against your hands or the surface below. It’s a minor habit, but it helps ports last longer.
You can also use the Switch 2 as an emergency battery pack. If your phone is running low, you can plug it into the console and share a bit of charge.
Protect the Screen Immediately
This is one of those things best done before your first scratch.
The Switch 2 display uses glass with a thin outer plastic layer for safety. The problem is that plastic scratches easily and permanently. Once marked, there’s no fixing it.
A tempered glass screen protector solves this. Install it on day one while the screen is still flawless. If the protector gets damaged, you replace it, not the screen itself.
Get a Proper Carry Case
Even if you don’t travel often, a case matters.
A hard shell case protects the console from knocks inside a backpack and gives a safe place for cartridges. The Switch 2 feels solid, but the body is still plastic, and impacts can add up quickly over time.
Learn How to Find Lost Joy-Cons
Joy-Cons have a talent for disappearing.
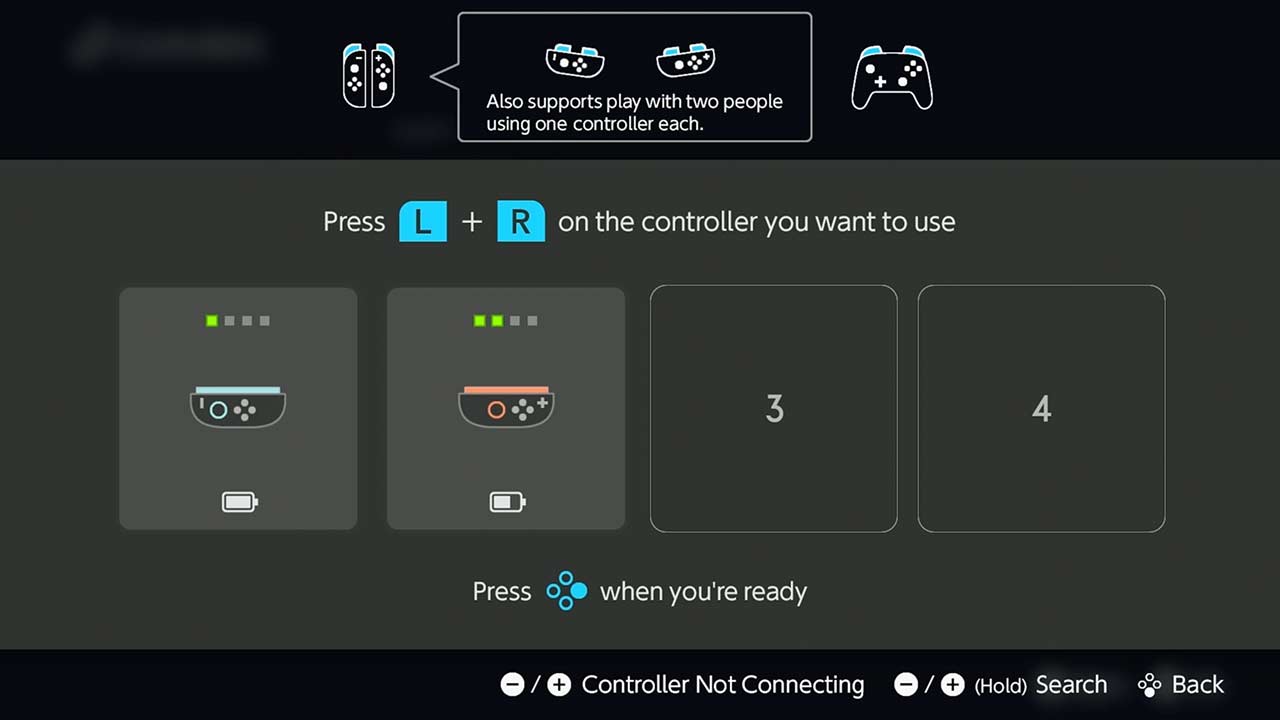
If one goes missing, open the Controllers menu and use the search function. The Joy-Con will vibrate, and you can also trigger a sound to locate it under cushions or furniture.
In the same menu, you can also check each Joy-Con’s battery level separately. The main battery icon only shows the console’s charge.
Improve Comfort Without Buying Anything
Handheld sessions can get uncomfortable during long playtime.
There’s a simple trick: slightly extend the kickstand and rest it against your fingers. This shifts some of the console’s weight away from your palms, reducing strain.
Try the Joy-Con Mouse Mode
One of the Switch 2’s standout features is the built-in mouse functionality on the Joy-Cons.
With the included magnetic attachment, you can place a Joy-Con face down on a desk and use it like a mouse. Sensitivity is adjustable in system settings, letting you tune it to your surface and playstyle.
Take Advantage of Local Two-Player
The Switch 2 still shines when it comes to sharing a single system.
Many games let you detach the Joy-Cons and play split-screen immediately, no extra controller needed. It’s perfect on trips, flights, or casual sessions with a friend. Just remember that the first Joy-Con detached becomes Player One.
Secure Your Console With a Lock
If you travel or share your console, security matters.
You can enable a console lock PIN that activates when waking the Switch 2 from sleep. This protects your account, purchases, and personal data if the console is ever lost or picked up by someone else. It’s quick to set up and easy to forget about until you need it.
Use the Quick Settings Menu
Press and hold the Home button during gameplay to open a quick settings panel. From there, you can adjust brightness, volume, or connect Bluetooth devices without leaving your game.
Once you get used to it, it becomes second nature.
Adjust Button Layout If You’re Coming From Another Console
If you play on Xbox or PlayStation, the A/B layout can feel backwards.
The Switch 2 allows you to swap A and B functions system-wide. It makes navigation more intuitive if your muscle memory comes from other consoles. Just keep in mind that on-screen prompts won’t change, so you’ll need a short adjustment period.

Pair Bluetooth Headphones
Late-night gaming or travel is much better with headphones.
The Switch 2 supports Bluetooth audio directly. You can pair headphones, earbuds, or even speakers through the system settings. Once paired, switching between devices is quick, and you can also manage connections through the quick settings menu.
Capture Screenshots and Short Videos
A single button press takes a screenshot. Holding it records up to 30 seconds of gameplay.
Everything is saved in the gallery, where you can review clips later or share them. It’s useful not just for social sharing, but also for keeping track of gameplay moments or progress.
Enable Zoom for Any Game
There’s a hidden zoom feature under accessibility settings.
Once enabled, a double tap on the Home button lets you zoom in anywhere on screen, even during gameplay. It’s great for reading small text, checking distant details, or just getting a closer look without moving your character.

Switch to Dark Mode
The Switch 2 only offers light and dark themes, but dark mode is easier on the eyes, especially at night. It also slightly reduces power usage in handheld mode. Simple change, better comfort.
Know How to Fully Power Off the Console
Pressing the power button only puts the Switch 2 to sleep.
To fully shut it down, you need to hold the power button, open power options, and select Power Off. It’s useful when you won’t use the console for a while and want to conserve battery.
Setting up the Nintendo Switch 2 properly doesn’t take long, but it makes a big difference over time. A few tweaks now can save battery, protect the hardware, and make everyday play smoother. Once that’s done, you’re free to focus on what actually matters: playing.
